
The Canadian Corps:
Late 1917 and Into 1918
In late 1917 following Canada successfully taking Passchendaele Ridge (3rd Battle of Ypres) and into the early part of the Great War’s final year, Currie’s 4 divisions were not called into any offensive actions. Nor were they forced to defend against any prolonged and large-scale German attacks. Over those months, there were only a few small skirmishes that the Canadians dealt with. Now that the Canadians were widely perceived as a tough, highly skilled, and elite force, the German intelligence officers kept track of where they were. German commanding officers made a conscious effort to stay away from Currie’s Corps because they speculated that there were weaker places in the Entente line where an attacking effort would be more productive. This became all the more apparent when the Kaiserschlacht began in the spring of 1918 and all of the German attacks were aimed at the Brits or the French, not at the locations where the Canadians manned the line.

During the months between November 1917 and July 1918, each of the 4 Canadian Divisions were cycled into different locations throughout the line, served their time defending it, and then were given days off. Nothing significant, battle-wise, was experienced by Currie’s men during that time.
It’s fascinating to think that even though Canadian Corps held between a fifth (20%) and a quarter (25%) of the B.E.F.’s total frontage during these months in the war, they only represented approximately a tenth (10%) of the entire British forces on the Western Front.
Lessons Learned:
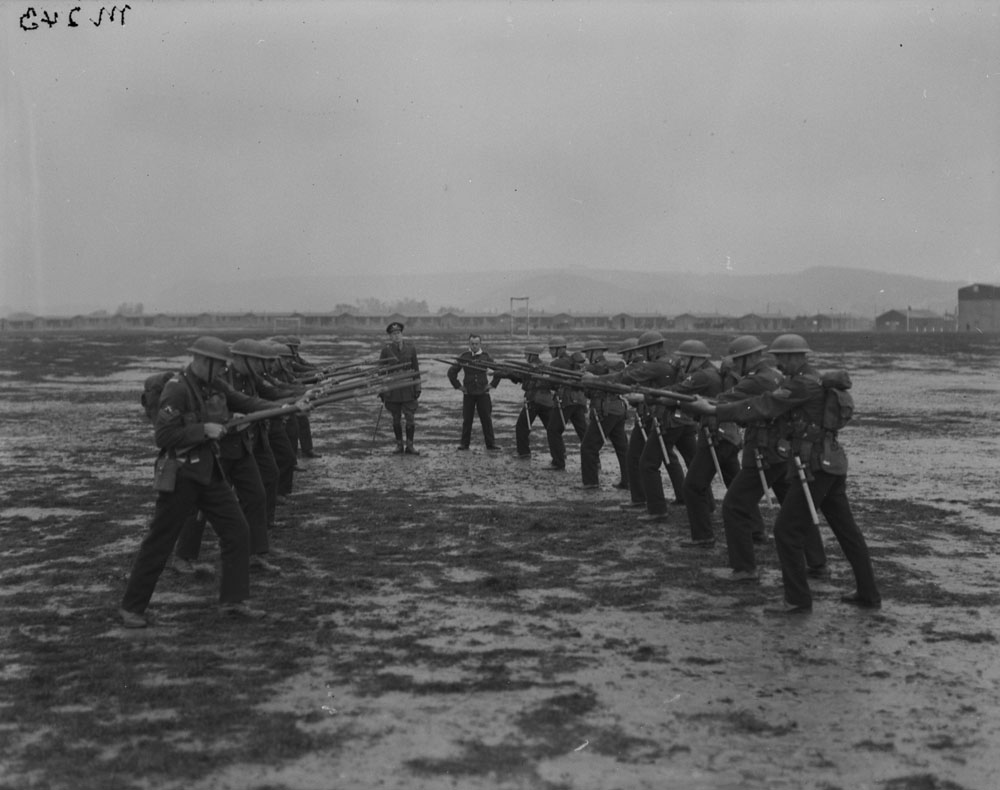
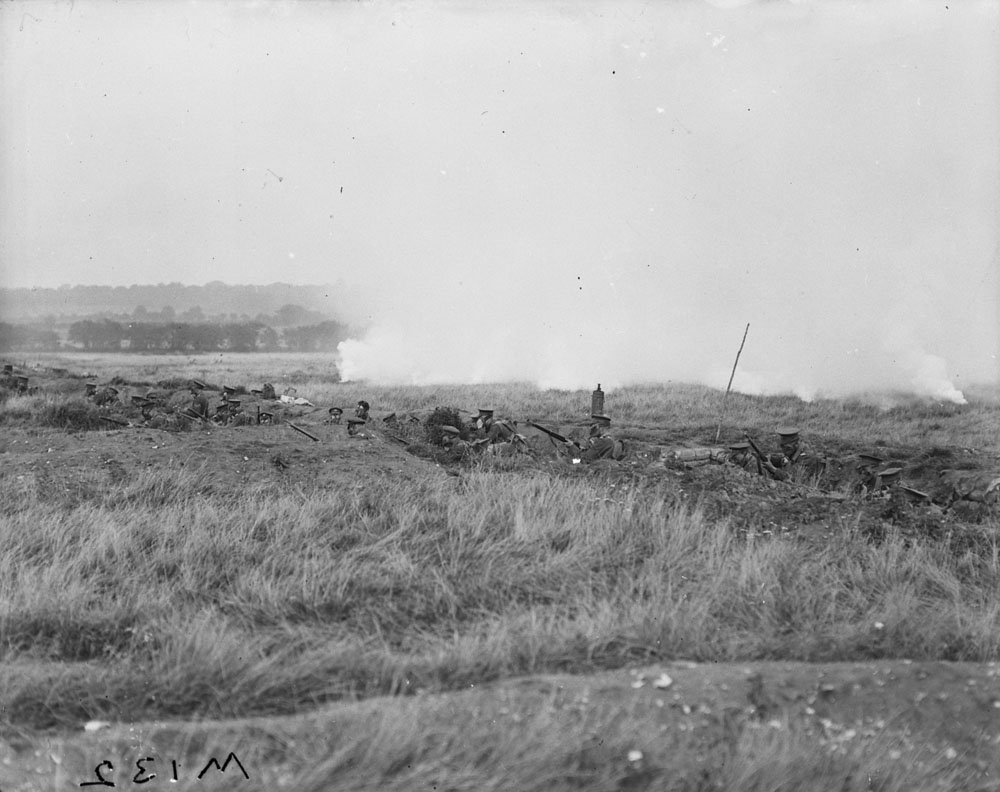
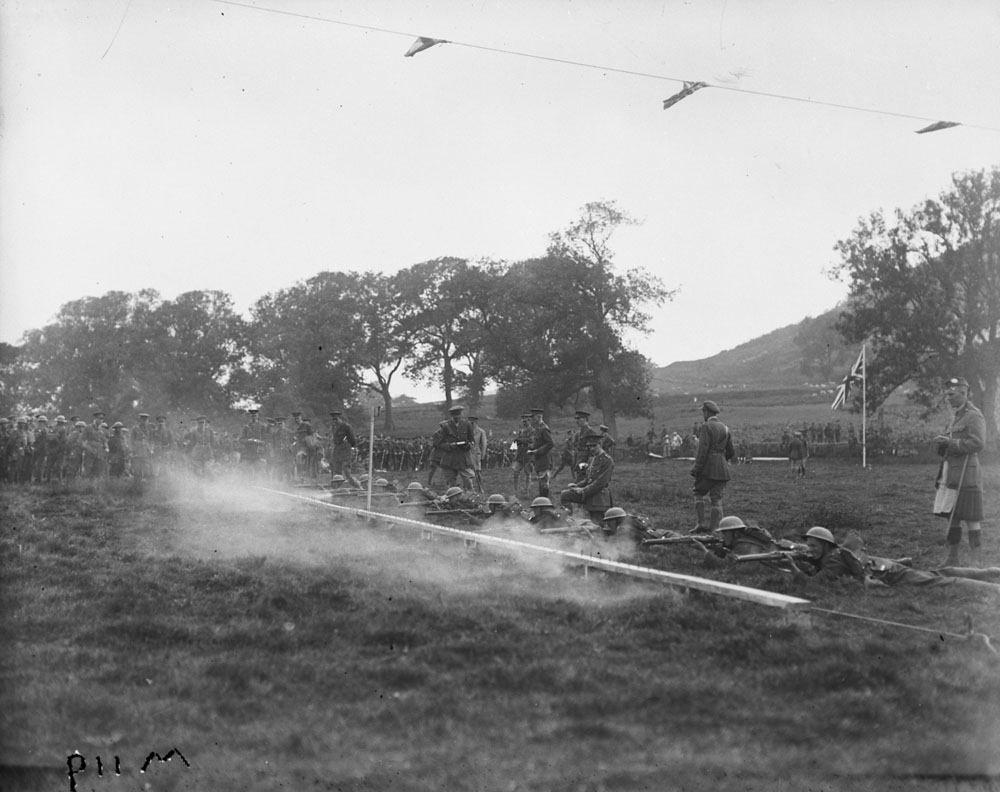
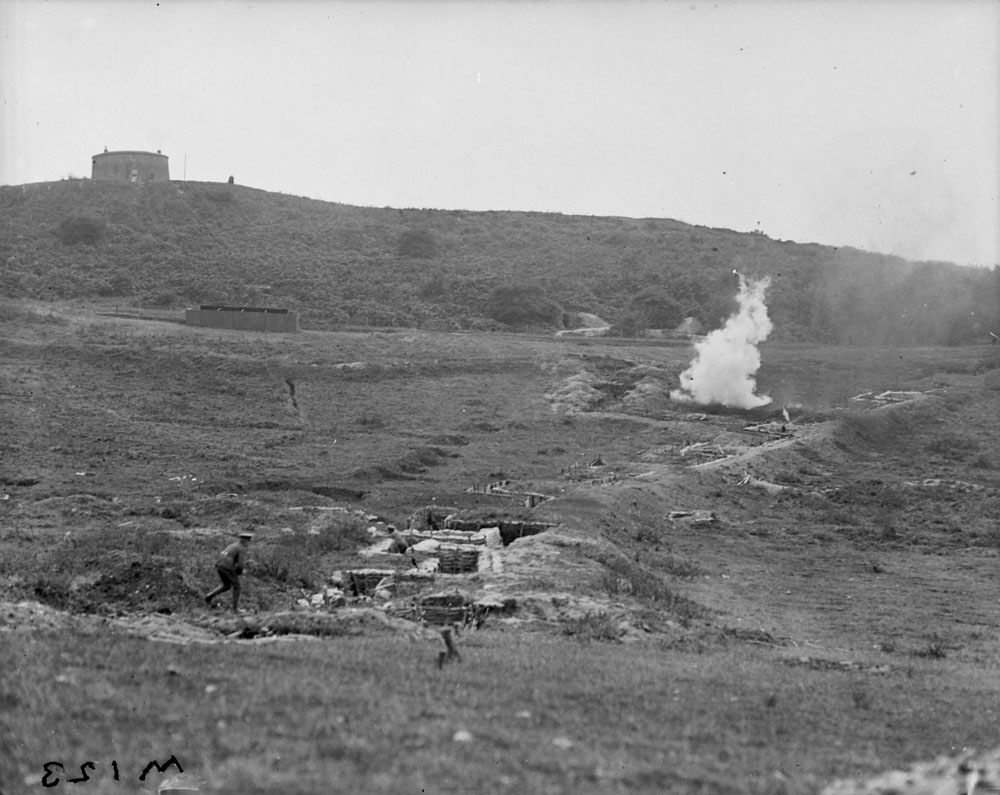
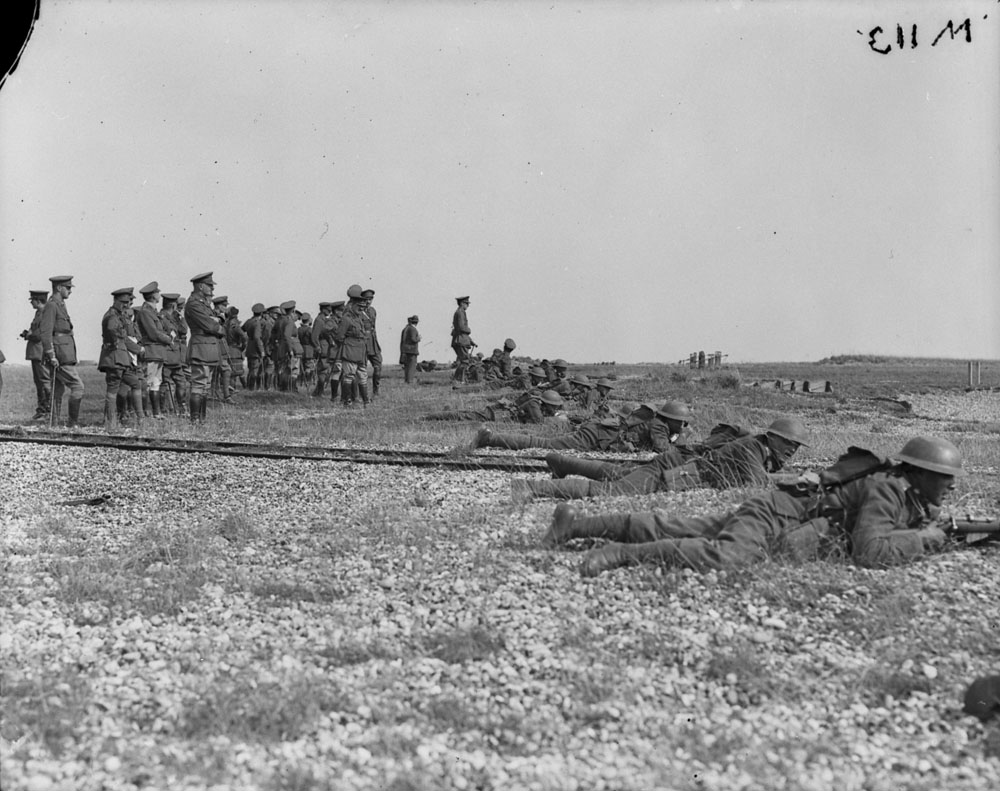
It’s difficult to say whether the German avoidance of the Canadians was a good decision or not. In addition to getting a break from the intensity and exhausting nature of battle, the 150 000 strong Canadian Corps took the time to orient new soldiers (conscripted or otherwise), train, run scenarios, build comradery, and perhaps above all, to rest. New tactics, especially at the platoon and squad levels, were developed, practiced, and fine-tuned. For example, troops practiced an offensive approach of pinning-down, circling or flanking, and destroying hard defensive features (i.e. a machine gun nest).
Suppressing fire, as occurring during the “pinning-down” in the aforementioned tactic, became a method all on its own, as it was employed by offensive machine-gun teams to “thicken” fire ahead of advancing soldiers. “Bounding” platoons became common practice; it was like a “bite and hold” by one group of soldiers, and then the same by another group of adjacent soldiers, with each unit destroying their opposition and preparing the way forward for their partner unit. This back and forth, leap-frogging cooperation between squads (and platoons) continued taking ground until the specified objective was reached.
Canadians were not the only ones to incorporate new tactics and lessons-learned into their Corps. Other allied commanders and their divisions, in particularly the Australian and New Zealand Army Corps (ANZAC), readily accepted any new positive developments.


As spring passed and the Kaiserschlacht began to decrease in intensity, Foch and Haig began to speculate that the German Imperial Army was wearing down. To test this theory, up-and-coming ANZAC Lieutenant General John Monash was given sole command of a plan to attack at Hamel just south of the Somme River on July 4, 1918, just as Currie was given at Hill 70 the year prior. The ANZAC’s actions were a huge success. Foch and Haig saw this and believed that some of the German divisions might be “rotten” and could possibly be punched through.
Monash’s plan also illustrated the effectiveness of newly developed offensive tactics that included: combined arms attacks (infantry, artillery, and armour working in concert), map and intelligence sharing with the forward troops, practicing and drilling, wireless signalling, and the logistics of supplying soldiers on the move. All of these changes were the result of learning from the mistakes of the past and perhaps most importantly, determined a pattern for the Allies to follow in future attacks on the Western Front.
The Last Hundred Days
Following the ANZAC success at Hamel, another plan was quickly developed to attack at Amiens, France. It would be an idea that was more elaborate than usual and would involve both the Canadian Corps and the now highly touted ANZACs fighting side-by-side, sandwiched between British and French flanks. The keys to the plan were secrecy and deception. The goal was the Amiens rail infrastructure that was a critical hub for supplying the enemy defences. But how to take it?
In June 1918, the Canadian Corps was not at the front. German intelligence knew that and expected that once the Canadians came back into the line, an attack at that location would be imminent. If the ANZACs were at that same location, the chance of an attack increased exponentially. Currie wondered: how could that expectation be exploited and how could the allies hide 100 000 Canadians (of 300 000 Entente troops) coalescing in the Amiens sector?
The Battle of Amiens
August 8 - 10, 1918
In order to take the rail infrastructure, the Allies needed to take superiority in the air. At this point in the war, the Allies had a huge advantage in aircraft; they outnumbered the Germans at least 5 to 1 over the Amiens sector. This is where deception entered into the plan. A few small pieces of the Canadian Corps were moved north into the Ypres sector in July. The movement was done shoddily so that the Germans would notice. Small raids also occurred in the area. Canadian gear was strategically left behind in enemy trenches and with some sloppy communications, a false picture of the Canadian Corps heading back to Ypres was painted for the enemy intelligence officers.
Meanwhile, every Canadian soldier was told to “keep your mouth shut” before they were moved south into the Amiens area. Divisional commanders were informed of the plan only a week before the attack; the date of the zero hour was given as August 8. Everything was done to maintain the element of surprise. This included keeping the Canadians away from the front lines until the night before zero hour, but cost units the opportunity to reconnoitre the front. In hindsight, the preparations seemed to have worked because the Germans were completely caught off guard at 4:20 a.m. on the 8th.
Ludendorff wrote in his memoirs that it:
The Canadians had advanced an amazing 13 kilometres that first day. Alongside them were the ANZACs, who themselves took 11 km. Over the next 2 days, the Allies would take 7 more kilometres while securing the conquered areas and neutralizing any hold-outs. The Canadian Corps would suffer almost 12 000 casualties while taking Amiens. 10 Canadians would receive a Victoria Cross in recognition of their heroic efforts. 3 000 would be awarded other decorations for their feats. 9 300 German prisoners, 200 artillery guns, 150 mortars, and 755 machine guns were taken by the Canadian Corps.
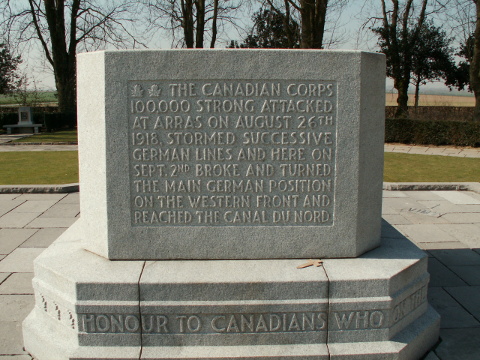
The effectiveness of using a combined arms approach against an ever-weakening enemy had proven effective and for the next few weeks, Currie’s soldiers would fight forward through the Arras district until they arrived at a string of formidable, interlocked German defenses that were strung between the towns of Drocourt and Quéant, France.
The Battle of the Drocourt-Queant Line
September 2, 1918
The Drocourt-Quéant Line itself was connected to the main German defensive feature in the northeast, the Hindenburg Line, and the Canadians needed to pierce it in order to continue moving in that direction. Some feel that this battle may have been Canada’s toughest during the Great War because they had so little time to plan and prepare. In addition to that difficulty, the forces were becoming fatigued from the previous weeks of fighting. However, once again the Canadian Corps passed this test with flying colours.
The Numbers:
– advanced 10 kilometres in 6 days
– suffered 11 500 casualties
– 7 men were awarded the Victoria Cross
– 10 500 prisoners were taken
– claimed 125 artilleries, 100 mortars, 925 machine guns
– 3 000 more casualties came over the next week
After losing Drocourt-Quéant, the Germans retreated to the Hindenburg Line further to the northeast. In total, the Arras sector fighting cost the Canadian Corps 25 000 casualties, 20 000 of which were infantry. Thousands of those who were killed or injured were battle-hardened and experienced soldiers. Consequently, new soldiers were cycled into the mix with each battalion adding strength to put them back to approximately 1 000 men apiece. Men were trained, promoted, or reassigned as necessary and Currie planned his next move: the taking of the Canal du Nord.
The Canal du Nord: A Defensive Component of the Hindenburg Line
The canal functioned as piece of the main German defensive feature, the Hindenburg Line, which was named after its designer, the German Chief of Staff Paul von Hindenburg, who ordered its construction in 1916. Hindenburg’s creation was a complex system of interconnected trenches, fields of barb wire, natural barriers, comfortable dugouts, impervious weapons dumps, machine gun nests, artillery dugouts, et cetera, that were arranged in a manner that fully utilized the topography of the landscape to strengthen each position and to allow the defenders multiple fields of overlapping fire. Even though the German soldiers fully understood the critical nature of holding the Hindenburg Line at all costs, particularly in consideration of protecting the rail yards at Cambrai, its uniqueness and perceived exceptionally strong positioning and engineering likely led to some German defenders to become over-confident and complacent.
The Battle of the Canal du Nord
September 27, 1918
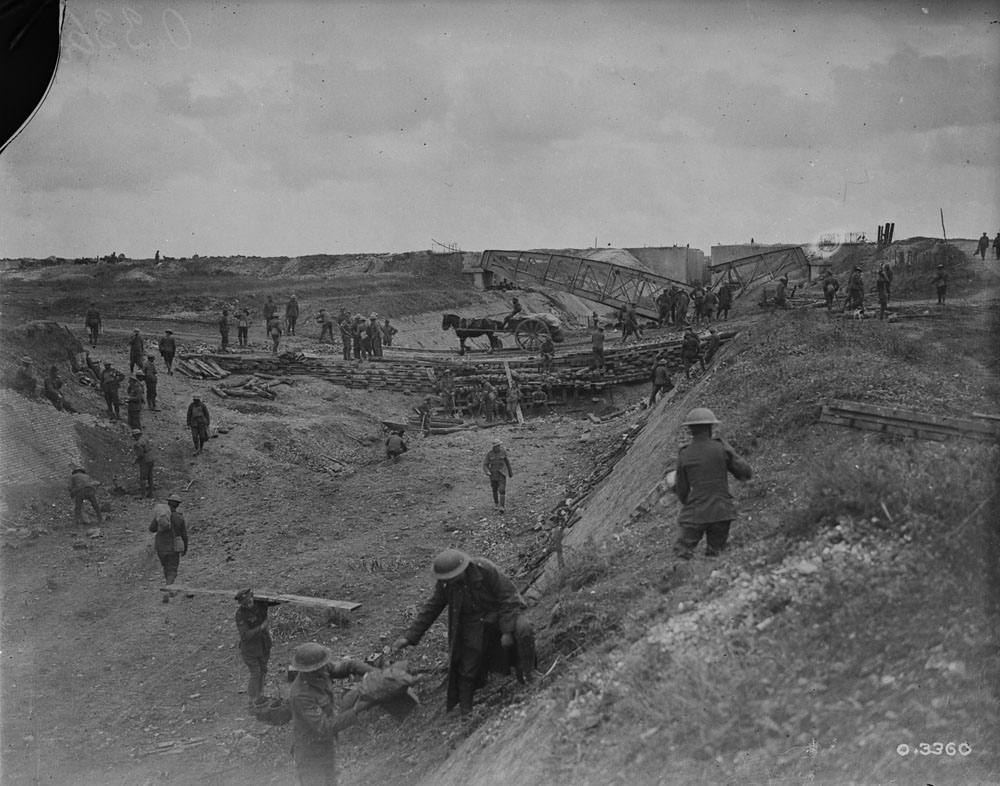
This was a significant battle for Currie and the Canadian Corps and they knew it. The canal was not quite finished being built when the war broke out. The challenge was that the excavated gap was essentially a huge trench. The Canadians would be forced to cross a very narrow, dry portion of the incomplete canal while fully in view of dug-in German artillery and heavily fortified machine gun nests. Once on the other side, they would have to fan out amongst heavily held German positions (see the map below). It was definitely not a situation conducive to a successful attack. Many agreed wholeheartedly with that assessment, including Haig and Byng, who visited Currie in mid-September, told him that the plan was too dangerous, and asked him to call it off. Currie would not be denied however, and he continued formulating a plan using aerial observation, range spotting, his usual meticulous planning, and the now regular detailed briefing and preparation of his infantry.
What concerned the Canadian Lt.-Gen the most, was that the Germans had flooded the land on his side of the canal. This left only a very small, dry area beside the proposed crossing location for his soldiers to launch from; it was a perfect spot for the German defenders to aim some of their artillery and machine guns, especially considering it was immediately beside the water-free section of the canal. To reduce the possibility of a devastating hit in the staging area, Currie determined that a stand of trees called Bourlon Wood was the main threat and that it needed to be quickly taken and held after crossing, particularly if the engineers were going to construct a bridge across the gap soon thereafter. Speed in executing the plan was of the utmost importance here.
At 5:20 am the Canadian guns lit up and fired high-explosives, shrapnel, and smoke. With Currie sticking to his belief in “shells, not lives,” the Germans experienced the most intense shelling at any point in the war on that morning. Additionally, while some guns were creating a creeping barrage, other guns were producing reverse barrages that were designed to confuse some German defenders into interpreting that they were being shelled by their own side.
The Numbers:
– Once across the canal, Canadian forces fanned out over 8 km in 2 days (see map below)
– 2 500 Canadian casualties, 12 men were awarded Victoria Crosses
– Many heavy guns, mortars, machine guns, and prisoners were taken
The Canadian Corps had again made a successful and significant endeavor. This time it involved piercing Germany’s famed Hindenburg Line. They were on a roll, and the defenders were increasingly struggling and sputtering. In fact, some German soldiers were even leading mutinies or surrendering their own units. Ludendorff saw this and dispatched some elite fighting groups to boost moral and to defend against the Canadians, but it was only a matter of time before the attackers overwhelmed them and continued to push forward. For their ongoing aggressive actions, the Canadian Corps would add another 7 500 casualties as they fought towards Cambrai over the next two weeks. Even though Currie’s Corps was a finely-tuned and powerful fighting force, death was not suspended, instead, it was always grasping at those engaged in combat, never to be denied.

The unanticipated breakthrough at Canal du Nord reverberated throughout the Central Powers. The huge costs involved in fighting the Great War were finally catching up with the Germans. They were running out of materiel and men, partly because of the years of fighting, but also because the British Naval blockade was beginning to take effect. In addition, the Americans were now joining the battle in large numbers. Bulgaria, the Ottoman Empire (Turkey), and Austria-Hungary were each increasingly losing their nerve, just as their very own soldiers were. It appeared a sure thing that the war’s end was near. Some amongst the Allies began to feel that the battles now would be about extracting favourable terms from Germany, who they deemed instigator of the war.
Cambrai, Valenciennes, and Mons
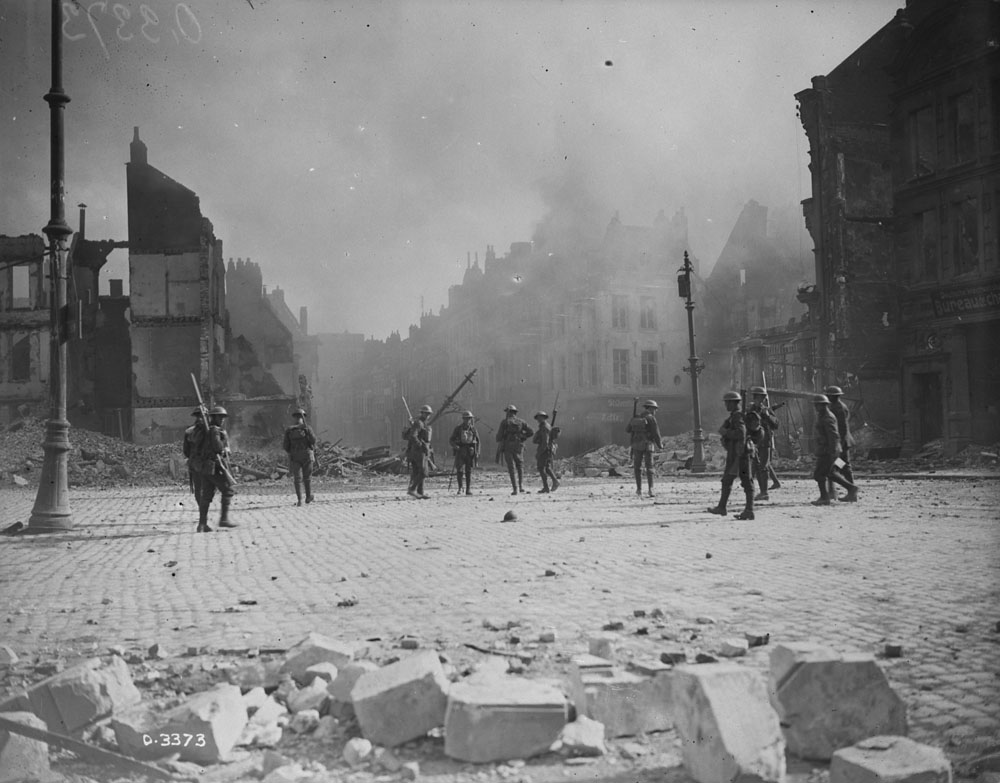
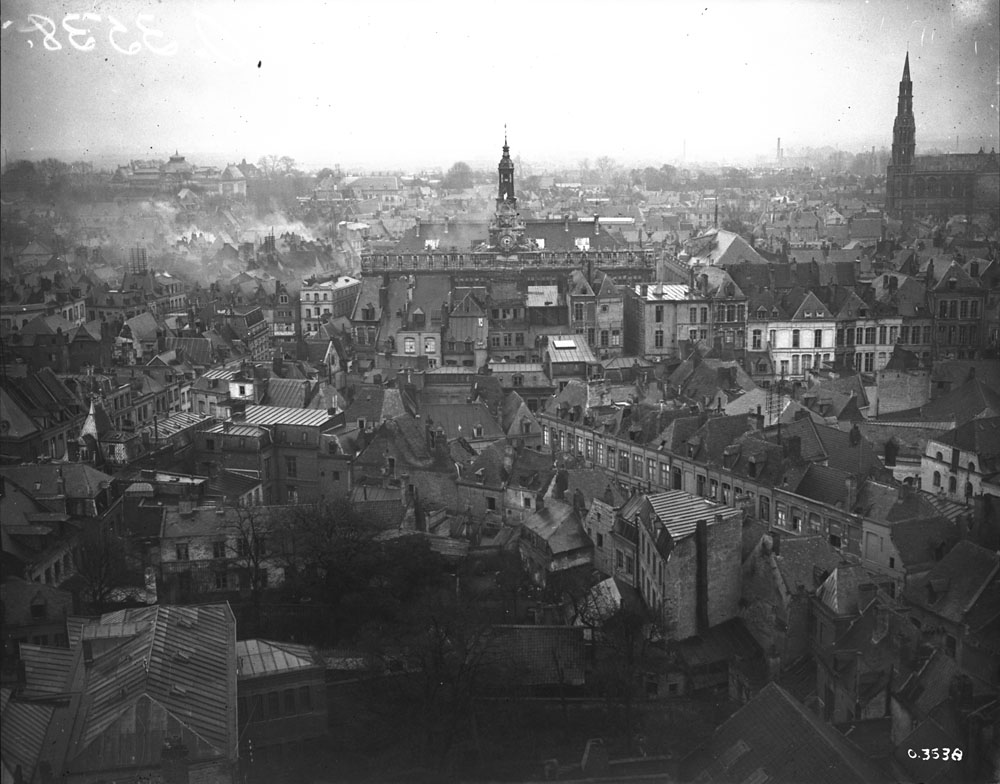
As the Canadians approached Cambrai, a key railway hub in northeastern France, the Germans were becoming more and more concerned. Bit by bit, the attackers fought their way into locations that were more conducive to launching a successful attack into the city.
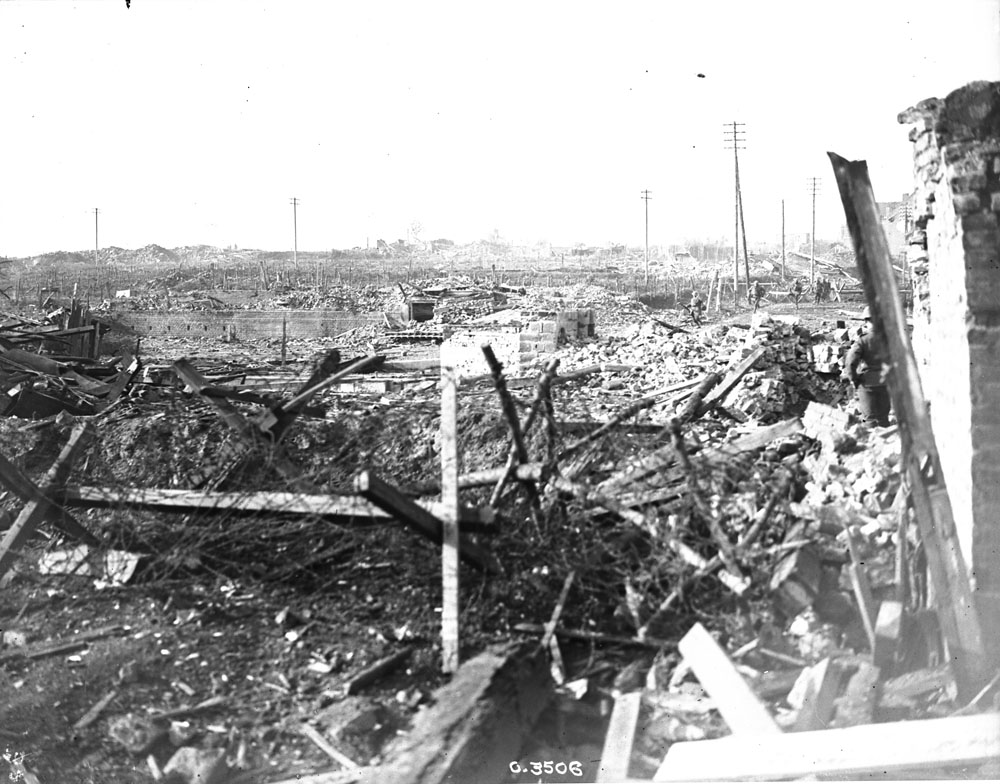
On the evening before zero hour, the Germans pulled out of the city, but only after having left it scattered with numerous booby traps. Once again the Canadians moved forward. Bit-by-bit, the fallen accumulated. The Germans, although in retreat after having left Cambrai, would not go easily and they consistently threw up rearguard actions to slow their enemy. The sharpness of the Canadians was wearing down.
By this time, Bulgaria had withdrawn from the war (30 Sept). Turkey did the same on October 30. The strength of the Central Powers was quickly dwindling. For the Canadians, the city of Valenciennes was the location where they faced the last stand of the German Imperial Army. Once again, the attackers took everything they had learned, practiced, and perfected over the preceding years of the war and put it all into action. Even though German morale was the lowest it had ever been, the tired Canadians were still opposed by at least double their numbers of well dug-in and equipped troops. Regardless, the Canadians won again after two days of battling. 1 800 prisoners, numerous artillery and machine guns, mortars, and the like, were taken. Unfortunately, another 500 Canadians were added to the casualties list.
Canadian soldier morale was steadily declining through the autumn of 1918. Many beloved comrades had fallen and many others were tiring quickly. Rumours that the war’s end was imminent were common, but in stark contrast, other gossip indicated that a final offensive push was being saved for 1919. Constantly, the never-ending myriad negatives of war chipped away at the men’s outlook. However, each of them understood that orders are orders, and since Haig wanted to push the Germans further back, Currie pushed on and his men followed.
On November 7th, the Canadian Corps crossed into Belgium and approached the city of Mons, ironically, the same city where the British first defended against the German advance during the summer of 1914 (see the Schlieffen Plan). While Currie and Haig wanted to take the city so that the enemy would have less negotiating power in the eventual armistice, the Canuck fighting soldiers knew that the war was on its last legs and none of them wanted to give their life needlessly.
Early on November 10th, as the Canadians were finalizing their plans to take Mons, they had to repel multiple German raids. The Germans were still fighting and would until the end. Currie sent in a couple of battalions late in the day who methodically eliminated resistance until early in the morning on the 11th. At around the same time that they were mopping up, Currie was informed of the impending agreed upon ceasefire scheduled to begin in a few hours, at 11 am. As the Canadians moved into and throughout Mons notifying the population of the news, there were still some pockets of resistance, and just before 11 am, Private George Price, of the 28th Bn. was sniped by a German soldier. Price was the last Canadian death during the Great War and likely the last Commonwealth death. The war was finally over.

During those 100 days between August 8th and November 11th, the Canadian Corps suffered 46 000 casualties. Perhaps the most descriptive testament to the intensity of the fighting faced by the Canadian Corps is the following: those 46 000 men represented 12.5% of all British casualties during those final 100 days, however, the entire manpower of the Canadian Corps only made up 6.5% of the entire BEF.